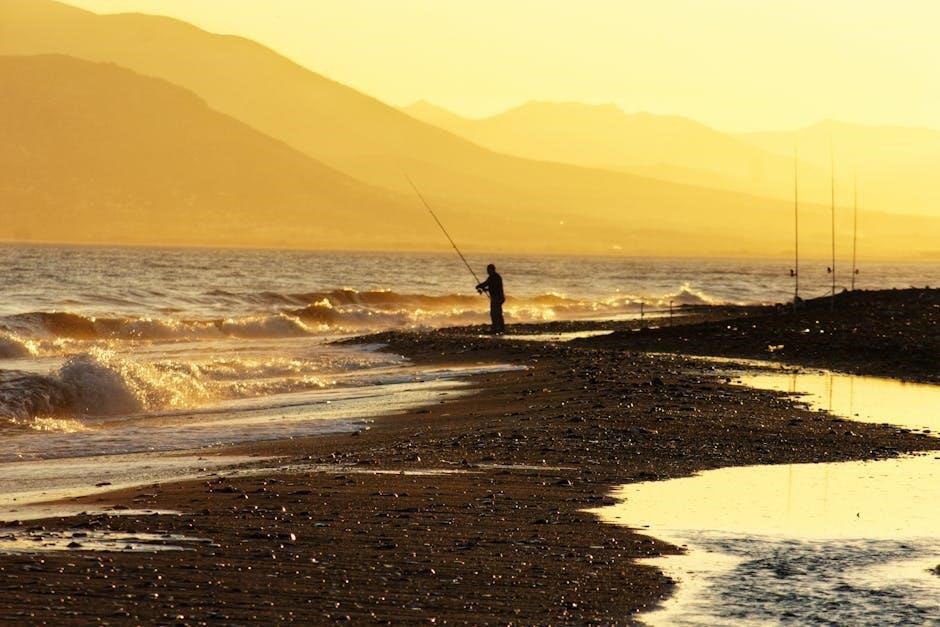
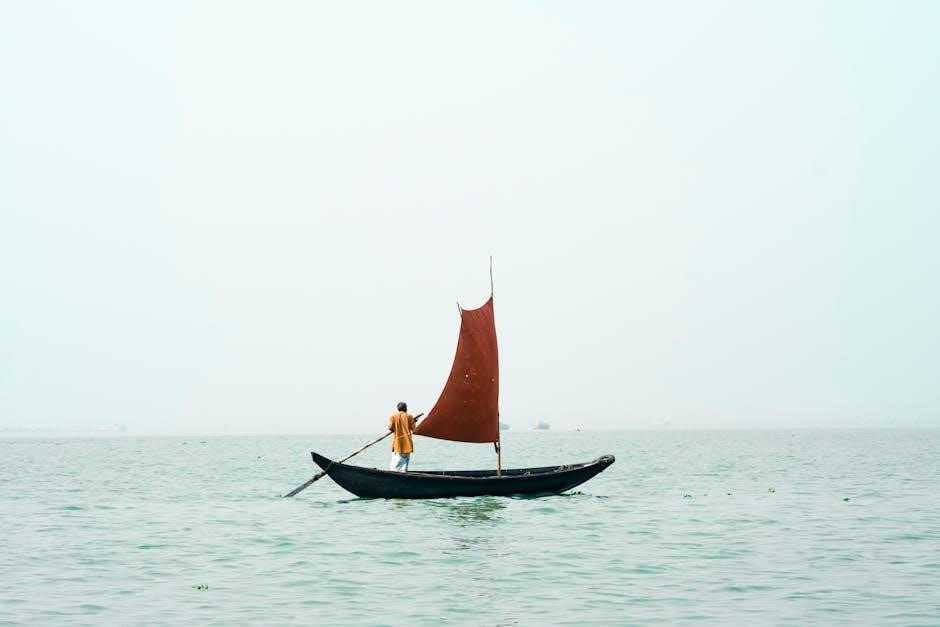
Milford Lake is a premier fishing destination, renowned for its trophy Blue Catfish and exceptional Walleye fishing. Hiring a guide ensures access to expert knowledge, prime spots, and top-tier equipment, enhancing your angling experience;
1.1 Overview of Milford Lake as a Fishing Destination
Milford Lake, known as the “trophy Blue Cat capital of the plains,” is a 20,000-acre fishing paradise in Kansas. Renowned for its Blue Catfish and exceptional Walleye fishing, the lake also hosts Bass, Crappie, and Wiper. Its diverse ecosystem and abundant fish populations make it a hotspot for anglers. The lake’s size and variety of species ensure endless opportunities for both novice and experienced fishermen, solidifying its reputation as a premier fishing destination.
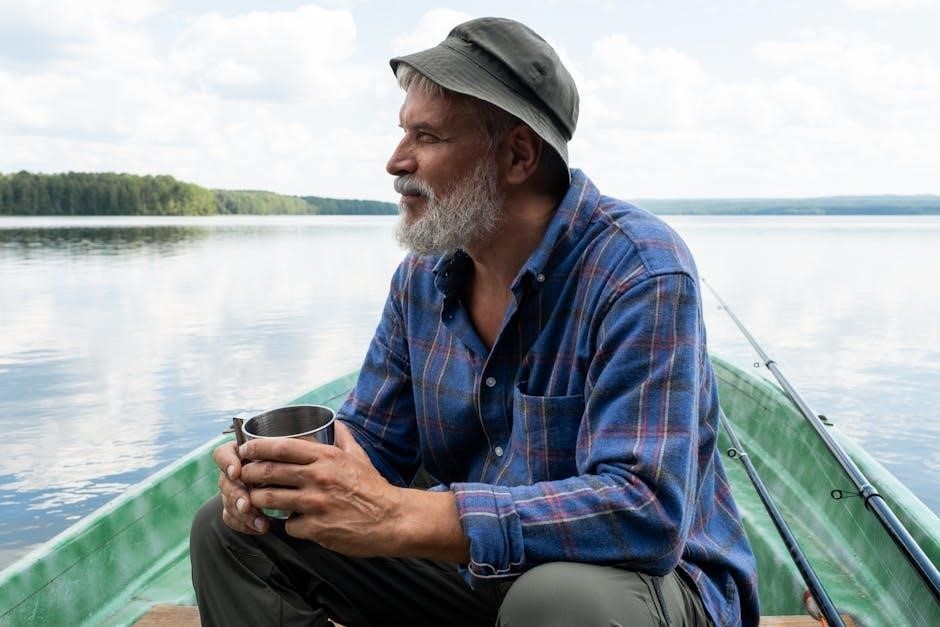
1.2 Importance of Hiring a Fishing Guide
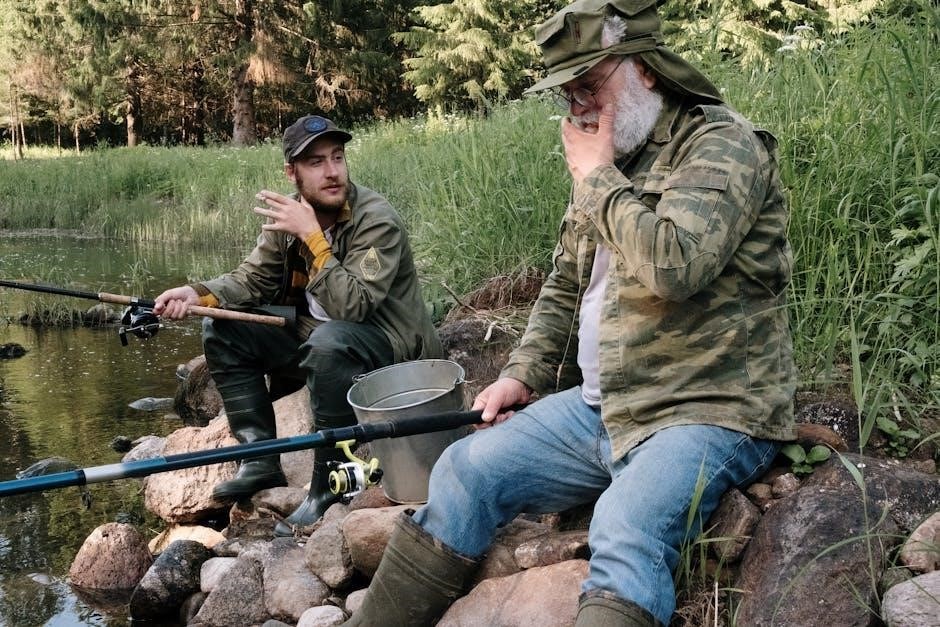
Hiring a fishing guide at Milford Lake offers unparalleled benefits. Guides provide local knowledge, ensuring access to prime fishing spots and techniques tailored to the lake’s conditions. They supply high-quality equipment and share expert tips, enhancing your chances of success. Additionally, guides prioritize safety and sustainability, making your experience both enjoyable and responsible. Their insights into the lake’s ecosystem and fish behavior are invaluable, ensuring a memorable and productive fishing trip.
Popular Fish Species in Milford Lake
Milford Lake is home to trophy Blue Catfish, Walleye, Bass, Crappie, and Wiper. Its diverse fish population attracts anglers seeking both challenge and variety in their fishing experiences.
2.1 Trophy Blue Catfish: The Lake’s Signature Species
Milford Lake is renowned as the “Trophy Blue Catfish capital of the plains,” offering anglers a chance to land massive, record-breaking fish. These iconic creatures thrive in the lake’s diverse ecosystem, attracting experienced and novice anglers alike. Effective techniques include using heavy tackle and bait such as cut shad or nightcrawlers. Guides often recommend targeting rocky structures and deep-water areas for the best chances of reeling in these prized fish.
2.2 Walleye Fishing: A Close Second in Popularity
Walleye fishing at Milford Lake is a favorite among anglers, offering exceptional opportunities to catch this elusive species. Known for their challenging nature, walleye thrive in the lake’s clear waters. Popular techniques include jigging, trolling, or using crankbaits near rocky structures. Guides often recommend targeting areas with deep drop-offs and submerged points. Their expertise ensures anglers maximize their chances of landing these prized fish, making walleye a must-target species for any Milford Lake fishing trip.
2.3 Other Species: Bass, Crappie, and Wiper
Milford Lake is also home to a variety of other species, including Bass, Crappie, and Wiper. Largemouth and Smallmouth Bass are abundant, thriving in the lake’s rocky areas and submerged structures. Crappie are often found in shallower waters with ample vegetation, making them a favorite for anglers using jigs or minnows. Wiper, known for their aggressive nature, can be targeted with spoons or crankbaits in open waters. These species add to the lake’s diverse fishing opportunities, attracting anglers seeking a wide range of challenges and experiences.
Best Fishing Spots and Techniques
Milford Lake’s best fishing spots include rocks, points, and deep water areas. Techniques are tailored to these locations to maximize catch rates and overall fishing success.
3.1 Key Locations: Rocks, Points, and Deep Water Access
Prime fishing locations at Milford Lake include rocky structures, prominent points, and areas offering quick access to deeper waters. These spots attract large species like trophy Blue Catfish and Walleye, making them ideal for both experienced anglers and newcomers seeking substantial catches.
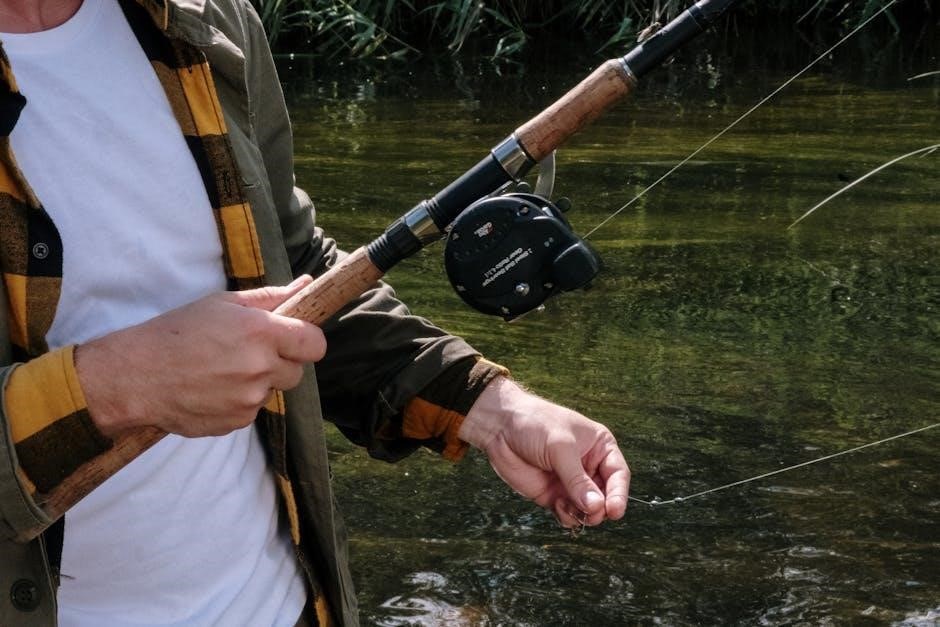
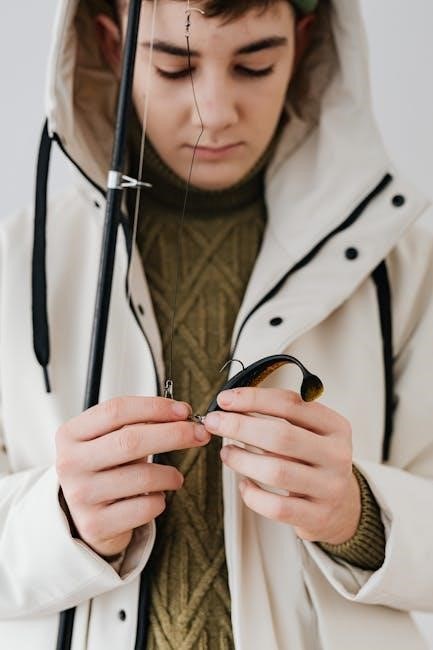
3.2 Recommended Fishing Techniques for Success
For a fruitful fishing experience, employ techniques like bottom fishing for catfish and using jigs or crankbaits for walleye. Fish near rocky structures and points, especially during early morning or late evening. Night fishing with glow-in-the-dark lures can also yield impressive results, particularly for larger species.
Milford Lake Fishing Guides: What They Offer
Milford Lake guides provide expert knowledge, high-quality equipment, and safety tips, ensuring a successful and enjoyable fishing trip tailored to all skill levels and preferences.
4.1 Expert Knowledge of the Lake and Its Ecosystem
Milford Lake fishing guides possess extensive knowledge of the lake’s ecosystem, including prime fishing spots, seasonal patterns, and species behavior. Their expertise helps anglers navigate the water effectively, maximizing the chances of a successful and memorable fishing trip while ensuring a deeper understanding of the lake’s unique environment.
4.2 Services Provided: Equipment, Tips, and Safety
Milford Lake fishing guides offer comprehensive services, including high-quality equipment, expert tips, and safety measures. They provide rods, reels, and bait, ensuring anglers are well-prepared. Guides share techniques for targeting specific species and emphasize safety protocols, making the experience enjoyable and secure for all skill levels, from beginners to seasoned anglers;
Planning Your Fishing Trip to Milford Lake
Plan your trip by considering seasonal fishing opportunities and visiting local tackle shops like Kabeles, Oh Shucks, and Stans for gear and advice.
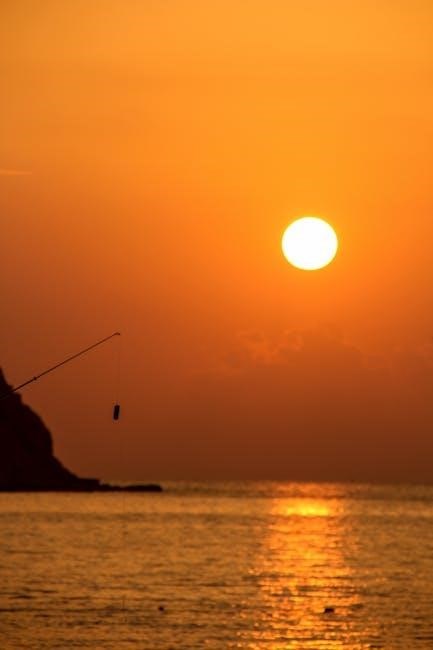
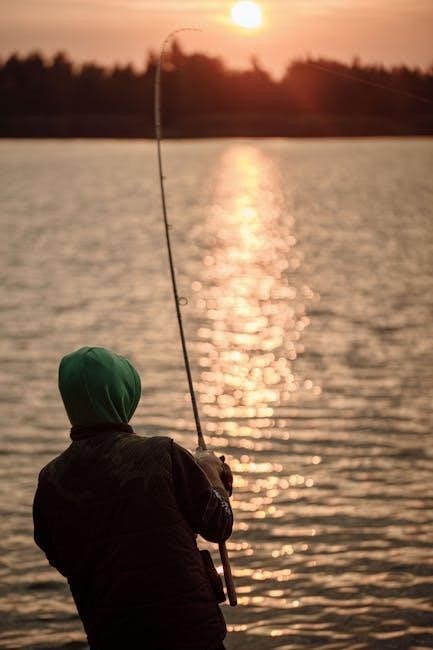
5.1 When to Visit: Seasonal Fishing Opportunities
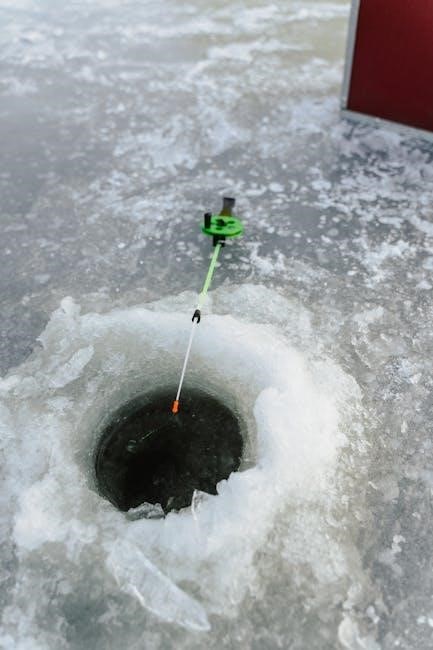
Milford Lake offers prime fishing opportunities year-round, with spring being ideal for panfish and spawning seasons. Summer provides action for species like Wiper and Walleye, while fall sees increased Catfish activity. Winter fishing is challenging but rewarding for dedicated anglers. Seasonal patterns ensure a dynamic experience, with local tackle shops like Kabeles and Stans offering insights to plan your trip effectively.
5.2 Local Resources: Tackle Shops and Fishing Communities
Milford Lake is supported by local tackle shops like Kabeles, Oh Shucks, and Stans, offering essential gear and expert advice. The Milford Lake and Tuttle Creek fishing community, with over 17,000 members, shares fishing reports and tips, fostering collaboration and improving angling success. These resources ensure anglers are well-equipped and informed for a productive fishing experience on the lake.
Fishing Regulations and Safety Tips
Adhere to Milford Lake’s fishing regulations, including permits and catch limits. Prioritize safety with proper gear and awareness of weather conditions to ensure a secure fishing experience.
6.1 Current Regulations for Freshwater Fishing
Adherence to Milford Lake’s freshwater fishing regulations is essential for a sustainable experience. Anglers must obtain valid permits, respect daily catch limits, and abide by size restrictions. Gear restrictions, such as specific hook types, may apply to protect fish populations. Seasonal closures and protected areas are also enforced. Always check with local authorities for the most up-to-date information before your trip to ensure compliance.
6.2 Essential Safety Measures for a Successful Trip
Ensuring a safe fishing trip on Milford Lake involves wearing life jackets, monitoring weather conditions, and carrying a first aid kit. Informing someone of your itinerary and return time is crucial. Stay alert for changing water levels and follow boat safety guidelines. Familiarize yourself with the lake’s layout to avoid hazards. These precautions enhance your experience and ensure a secure adventure on the water.

The Role of the Milford Lake Fishing Community
The Milford Lake fishing community fosters collaboration, sharing fishing reports, tips, and experiences. Local groups and forums connect anglers, enhancing knowledge and improving fishing outcomes collectively.
7.1 Sharing Experiences and Fishing Reports
The Milford Lake fishing community actively shares experiences and fishing reports, fostering camaraderie among anglers. Through platforms like Facebook groups and forums, members exchange insights, strategies, and real-time updates. This collaborative environment helps anglers refine techniques, discover hotspots, and stay informed about lake conditions. Shared knowledge enhances overall fishing success and builds a strong sense of belonging within the community.
7.2 Joining Local Groups for Better Fishing Outcomes
Joining local fishing groups like the Milford Lake and Tuttle Creek Fishing Group enhances your fishing experience. With over 17,000 members, these communities share valuable insights, real-time updates, and expert tips. Participating in such groups provides access to collective knowledge, helping anglers identify prime spots, adapt to changing conditions, and refine their techniques. This collaborative approach significantly improves fishing success and fosters lasting connections among enthusiasts.
Eco-Friendly and Sustainable Fishing Practices
Milford Lake emphasizes eco-friendly fishing practices to maintain its pristine environment and thriving ecosystems. Guides promote sustainable methods, ensuring future generations can enjoy the lake’s bounty and beauty responsibly.
8.1 Conservation Efforts at Milford Lake
Milford Lake is a 20,000-acre fishing destination with strong conservation initiatives. Local authorities and fishing communities actively protect its ecosystems through catch-and-release programs and habitat preservation. Fishing guides play a key role in promoting sustainable practices, ensuring the lake’s biodiversity thrives for future anglers. Regular water quality monitoring and fish population studies are conducted to maintain the lake’s health and balance.
8.2 Responsible Fishing to Preserve the Ecosystem
Responsible fishing practices are crucial for preserving Milford Lake’s ecosystem. Anglers are encouraged to embrace catch-and-release fishing, handle fish gently, and avoid littering. Guides emphasize sustainable methods to protect fish populations and habitats, ensuring the lake remains thriving for future generations;
Milford Lake is a must-visit for anglers, offering trophy Blue Catfish and exceptional Walleye fishing. With expert guides, pristine waters, and abundant species, it promises unforgettable experiences.
9.1 Why Milford Lake is a Must-Visit for Anglers
Milford Lake is a must-visit for anglers due to its trophy Blue Catfish and exceptional Walleye fishing. Known as the “trophy Blue Cat capital of the plains,” it offers diverse species like Bass, Crappie, and Wiper. With expert guides providing local insights, anglers can explore 20,000 acres of prime fishing spots, ensuring unforgettable experiences for both novice and seasoned fishermen.
9.2 Final Tips for an Unforgettable Fishing Experience
For an unforgettable trip, hire a Milford Lake guide to gain local insights and access prime spots. Focus on key locations like rocks, points, and deep water areas. Time your visit during seasonal peaks for trophy catches. Respect the ecosystem by practicing catch-and-release and adhering to regulations. Engage with the fishing community to share experiences and gain tips for future trips.