Trader Joe’s pizza dough is a culinary treasure, offering convenience and delicious results. Perfect for homemade pizzas, it simplifies cooking without sacrificing taste. Ideal for all skill levels, from novice chefs to culinary experts. Pre-made and easy to use, it transforms any kitchen into a pizzeria. A favorite among pizza enthusiasts, it ensures a crispy crust and flavorful base every time. With Trader Joe’s pizza dough, achieving gourmet-quality pizza at home is effortless and enjoyable. This guide explores its full potential, helping you create perfect pies effortlessly.
Overview of Trader Joe’s Pizza Dough Popularity
Trader Joe’s pizza dough has gained a cult following for its convenience and versatility. Busy home cooks adore it for saving time without compromising flavor. Its pre-made simplicity allows anyone to craft delicious pizzas effortlessly. The dough’s soft texture and ease of use make it a favorite for both novices and experienced cooks. Its popularity stems from its ability to deliver restaurant-quality results at home. Many fans praise its consistency and affordability, making it a staple in kitchens worldwide. This dough has truly revolutionized homemade pizza-making.
Convenience and Versatility of Pre-Made Dough
Trader Joe’s pizza dough offers unparalleled convenience for home cooks, eliminating the need for tedious dough preparation. Its pre-made format saves time, allowing for quick meal assembly. The dough is highly versatile, suitable for pizzas, breadsticks, or even as a base for creative appetizers. It adapts well to various cooking methods, including ovens, grills, and skillets. This flexibility makes it a go-to for busy households seeking delicious, homemade meals without the hassle. Its ease of use and adaptability have made it a kitchen essential for many.
Basic Cooking Instructions
Trader Joe’s pizza dough requires minimal preparation. Preheat your oven to 425-450°F, roll out the dough, add sauce, cheese, and toppings, then bake until golden and bubbly.
Understanding the Ideal Oven Temperature
The ideal oven temperature for Trader Joe’s pizza dough is between 425°F and 450°F. Preheating ensures even cooking and a crispy crust. For convection ovens, reduce the temperature by 25°F. Always preheat for at least 15 minutes before baking. Using a pizza stone can enhance crust texture. Keep the temperature consistent to avoid undercooking or burning. Adjustments may be needed based on personal preference or specific recipes. Proper temperature control is key to achieving a perfectly cooked pizza.
Recommended Baking Time and Crust Color
Trader Joe’s pizza dough typically bakes for 10 to 15 minutes at 425°F. The crust should be golden brown, with a slightly darker edge for crispiness. Monitor the pizza closely after 10 minutes, as ovens vary. For a crisper crust, bake 2-3 minutes longer. If using toppings, ensure they’re fully cooked without burning the crust. A well-baked crust will have a golden hue and a firm texture. Adjust time as needed for desired crispiness and color.
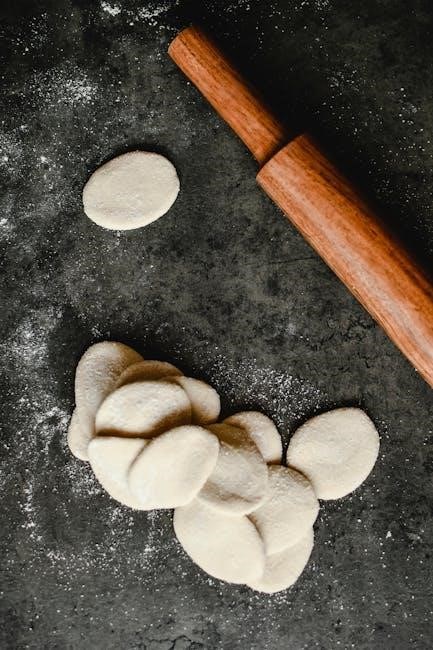
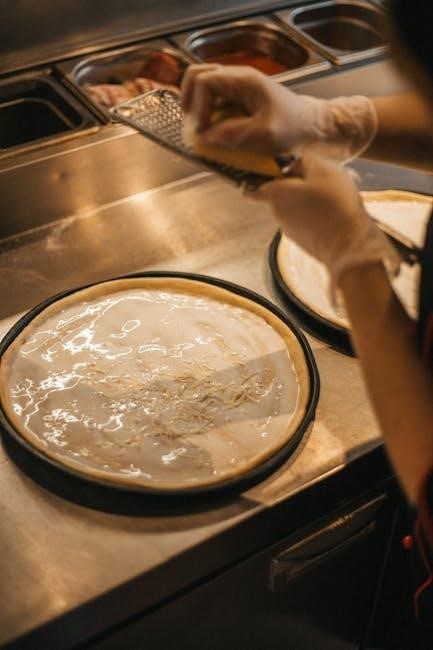
Thawing and Preparing the Dough
Trader Joe’s pizza dough can be thawed overnight in the refrigerator or at room temperature for 1-2 hours. Once thawed, lightly flour the dough to prevent sticking. Gently roll or stretch it to your desired thickness and shape. For a crispy crust, pre-bake the dough for 2-3 minutes before adding toppings. Letting the dough rest for 10 minutes after shaping helps relax the gluten, ensuring even cooking. Always handle the dough gently to avoid tearing.
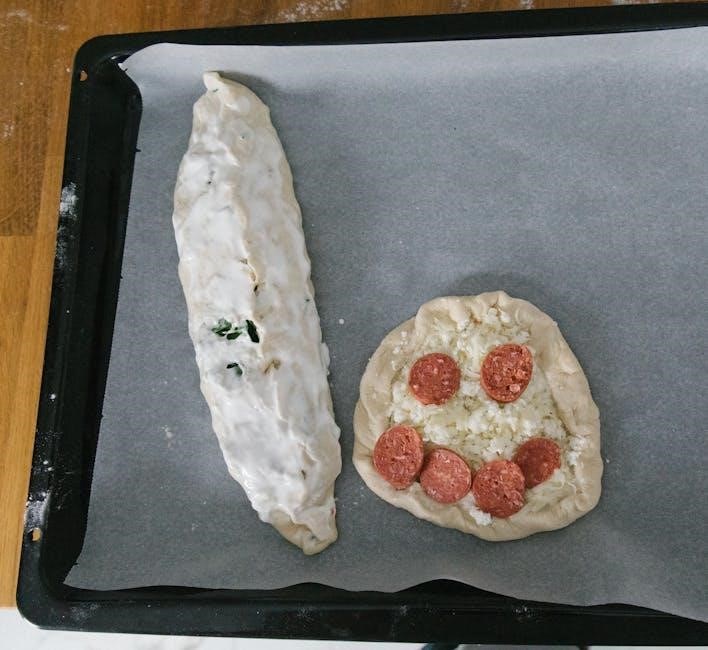
Choosing the Right Toppings
Choosing the right toppings balances flavors, textures, and colors. Classic options like cheese, pepperoni, and veggies are popular, while unique combinations elevate the pizza. Consider dietary preferences.
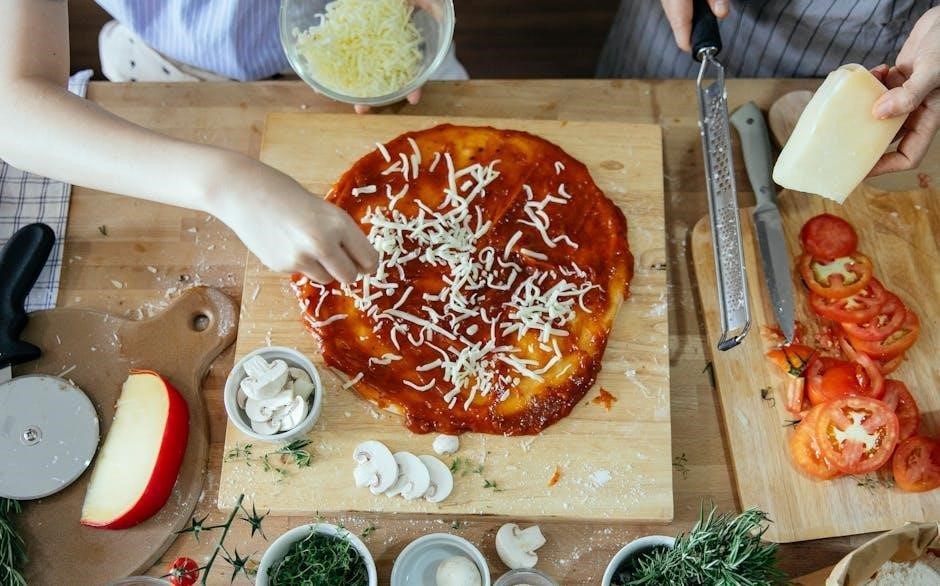
Classic Toppings for a Delicious Pizza
Classic toppings like mozzarella cheese, tomato sauce, and pepperoni are timeless choices for a delicious pizza. Mushrooms, onions, and bell peppers add freshness and texture, while olives provide a savory touch. For a traditional flavor, pair ingredients like Italian sausage, bacon, or ham with fresh basil. These combinations create a balanced and satisfying taste experience. Experimenting with these staples ensures a mouthwatering result every time, making your Trader Joe’s pizza dough the base for a truly enjoyable meal.
Unique Topping Combinations
For a creative twist, try unique topping combinations that elevate your pizza. Fig jam, prosciutto, and arugula create a sweet and savory blend, while shrimp, garlic, and pesto offer a seafood-inspired delight. BBQ chicken with red onion and cilantro adds a tangy, smoky flavor. Experiment with international flavors like Korean BBQ beef or Mediterranean-inspired feta, olives, and artichokes. These combinations bring excitement to your Trader Joe’s pizza dough, making it a versatile canvas for gourmet creations that go beyond traditional pizza;

Cooking Methods
Trader Joe’s pizza dough can be cooked in various ways, including oven baking, grilling, or skillet cooking, each offering a different texture and flavor profile.
Oven Baking Instructions
Preheat your oven to 425°F (220°C) with a pizza stone or baking sheet inside for a crispy crust. Roll out the dough on a floured surface to your desired thickness. Transfer the dough to the preheated stone or sheet, add your favorite toppings, and bake for 12-15 minutes. The crust should be golden brown, and the cheese bubbly. For an extra crispy base, bake for an additional 2-3 minutes. Let it cool slightly before slicing and serving.
Grilling for a Smoky Flavor
Preheat your grill to medium-high heat (400°F). Lightly oil the grates or use cooking spray to prevent sticking. Roll out the dough thinly and place it on the grill. Cook for 2-3 minutes per side, until golden brown. Flip the dough, add toppings, and close the grill. Cook for another 2-3 minutes until cheese melts and crust crisps. For smoky flavor, finish with a drizzle of olive oil or balsamic glaze. Let cool slightly before slicing for a delicious, char-grilled pizza.
Skillet Cooking Method
Preheat a skillet over medium heat and lightly grease it with oil or butter. Roll out the dough to your desired thickness and place it in the skillet. Cook for 2-3 minutes until the bottom is golden brown. Carefully flip the dough and add your toppings. Cover the skillet with a lid to melt cheese and cook for another 2-3 minutes. Remove, let cool slightly, and serve. This method creates a crispy crust with a soft interior, perfect for a quick, stove-top pizza experience.
Advanced Tips for Perfect Pizza
Pre-bake the crust lightly to prevent sogginess and ensure crispiness. Use a pizza stone for even heat distribution and a golden-brown finish. Experiment with flavors!
Achieving the Perfect Crust
For a crispy, golden crust, pre-bake the dough on a lightly oiled pizza stone or baking sheet at 425°F (220°C) for 5-7 minutes. Sprinkle the dough with salt and herbs before baking for extra flavor. To prevent sogginess, ensure toppings are evenly distributed and avoid overloading. Gently stretch the dough to maintain even thickness, and bake until the edges are golden brown. Let the pizza rest for a few minutes before slicing to retain crispiness and texture.
How to Make Gourmet Pizza at Home
Transform Trader Joe’s pizza dough into a gourmet masterpiece by layering high-quality toppings like caramelized onions, prosciutto, and fresh arugula. Add a drizzle of balsamic glaze or truffle oil for a sophisticated touch. Pair creamy ingredients like Burrata cheese with vibrant veggies for contrast. Sprinkle fresh herbs like basil or oregano for brightness. Arrange toppings artfully to create a visually appealing pizza. Bake until golden, then garnish with a sprinkle of Parmesan for a polished finish. This elevates your homemade pizza to restaurant-worthy status effortlessly.
Common Concerns and Solutions
Address issues like dough tearing by gently stretching and flouring. For undercooked centers, extend baking time slightly. Adjustments ensure a perfect, evenly cooked crust every time.
Addressing Dough Tearing Issues
Prevent dough tearing by ensuring it’s fully thawed and at room temperature. Gently stretch on a floured surface, using a little flour or cornmeal to reduce stickiness. Avoid overstretching, as this can cause thin spots. If tears occur, patch them gently and let the dough rest for a few minutes to relax the gluten. For extra support, bake on a preheated pizza stone or use a pizza peel with parchment paper for easy transfer. Proper handling ensures a smooth, intact crust every time.
Solving Undercooking or Overcooking Problems
To avoid undercooking, ensure the oven is preheated to the correct temperature (425°F–450°F). Place the dough on a preheated pizza stone or baking sheet for even cooking. Monitor the pizza closely, as overcooking can occur quickly. Check for a golden-brown crust and bubbly, slightly browned cheese. If undercooked, bake for a few more minutes. For overcooking, reduce oven temperature or baking time. Rotating the pizza halfway through can help achieve consistent results. Follow package instructions for optimal baking time, typically 10–12 minutes, depending on toppings and oven type.
Unique Uses for Trader Joe’s Pizza Dough
Trader Joe’s pizza dough is incredibly versatile, offering creative alternatives beyond traditional pizza. It can be shaped into breadsticks, garlic knots, or even pinwheels for delicious snacks.
Creating Breadsticks and Garlic Knots
Trader Joe’s pizza dough can be transformed into delicious breadsticks and garlic knots. For breadsticks, roll the dough into thin strips, bake at 400°F for 12-15 minutes, and season with herbs. Garlic knots are made by tying small dough pieces into knots, rolling them in butter and garlic, and baking until golden. Both options are perfect snacks or sides, offering a tasty alternative to traditional pizza. Brush with olive oil or sprinkle with cheese for extra flavor. These creations are easy, satisfying, and customizable to your taste preferences.
Making Pinwheels and Other Snacks
Turn Trader Joe’s pizza dough into delightful pinwheels and snacks. Roll out the dough, spread with cheese, herbs, and garlic, then roll into a log. Slice into pinwheels and bake at 400°F for 10-12 minutes until golden. Alternatively, create simple rolls or stuffed bread with fillings like ham and cheese or spinach. Ensure dough is at room temperature for easy rolling. Brush with olive oil or butter before baking for extra flavor and a nice sheen. Garnish with herbs for appeal. Pair with marinara or garlic aioli for dipping. A fun, easy snack option!

Comparison with Other Pizza Doughs
Trader Joe’s pizza dough offers a perfect balance of quality and affordability. It rivals homemade dough in taste and texture while surpassing many store-bought options in convenience and flavor.
Trader Joe’s vs. Homemade Dough
Trader Joe’s pizza dough offers unmatched convenience compared to homemade dough, saving time on preparation and kneading. While homemade dough allows for customization, Trader Joe’s consistency and flavor are hard to replicate without effort. The store-bought option is cost-effective and perfect for quick meals, whereas homemade dough requires ingredients and time. For those seeking quality without the hassle, Trader Joe’s is a superior choice, while homemade remains ideal for those who enjoy the process and customization.
Trader Joe’s vs. Other Store-Bought Doughs
Trader Joe’s pizza dough stands out among other store-bought options due to its superior taste and texture. Unlike many competitors, it offers a balance of chewiness and crispiness reminiscent of homemade dough. Priced affordably, it provides excellent value for its quality. While other brands may lack flavor or have a dense texture, Trader Joe’s dough remains a favorite for its consistency and versatility. It’s a top choice for those seeking convenience without compromising on delicious results, making it a standout in the market.
Time-Saving Tips
Prep Trader Joe’s pizza dough by thawing it quickly and pre-topping for convenience. Use pre-cooked ingredients and efficient topping arrangements to save time during assembly.
Quick Meal Prep with Pre-Made Dough
Trader Joe’s pizza dough simplifies meal prep with its convenience. Thaw the dough overnight in the fridge or quickly at room temperature. Pre-top the dough with favorite ingredients like sauce, cheese, and pre-cooked meats for a no-fuss dinner. Store prepped pizzas in the fridge for up to a day or freeze for later. This method saves time and ensures a fresh, homemade pizza in minutes. Pair with a green salad for a balanced, quick meal that’s perfect for busy evenings.
Streamlining the Pizza-Making Process
Streamlining pizza-making with Trader Joe’s dough involves smart preparation. Keep toppings pre-chopped and sauces ready to minimize assembly time. Use a pizza peel or parchment-lined sheet for easy oven transfer. Preheat the oven while rolling out the dough to save minutes. For a faster bake, pre-bake the crust lightly before adding toppings. These steps ensure a smooth, efficient process, allowing you to enjoy a homemade pizza without the hassle. Organization and prep are key to a quick, stress-free meal.

Healthier Options
Opt for whole-wheat dough, lean proteins, and plenty of vegetables. Use light cheese or dairy-free alternatives. Herbs and spices add flavor without extra salt or calories.
Low-Calorie Toppings and Alternatives
For a healthier pizza, choose low-calorie toppings like spinach, mushrooms, and bell peppers. Opt for lean proteins such as grilled chicken or turkey pepperoni. Use dairy-free cheese alternatives or reduce cheese quantity. Fresh herbs like basil or oregano add flavor without extra calories. Consider olive oil drizzle instead of heavy sauces. These options keep the pizza nutritious and delicious while maintaining a balanced calorie intake.
Gluten-Free and Vegan Substitutes
For those with dietary restrictions, Trader Joe’s offers a gluten-free pizza dough option, ensuring everyone can enjoy homemade pizza. Vegans can substitute dairy products with non-dairy alternatives like vegan mozzarella or soy-based cheese. Additionally, you can use gluten-free flours to make your own crust from scratch. These substitutes allow you to create a pizza that aligns with your dietary preferences without compromising on flavor. Always check ingredient labels to ensure compliance with your specific needs.

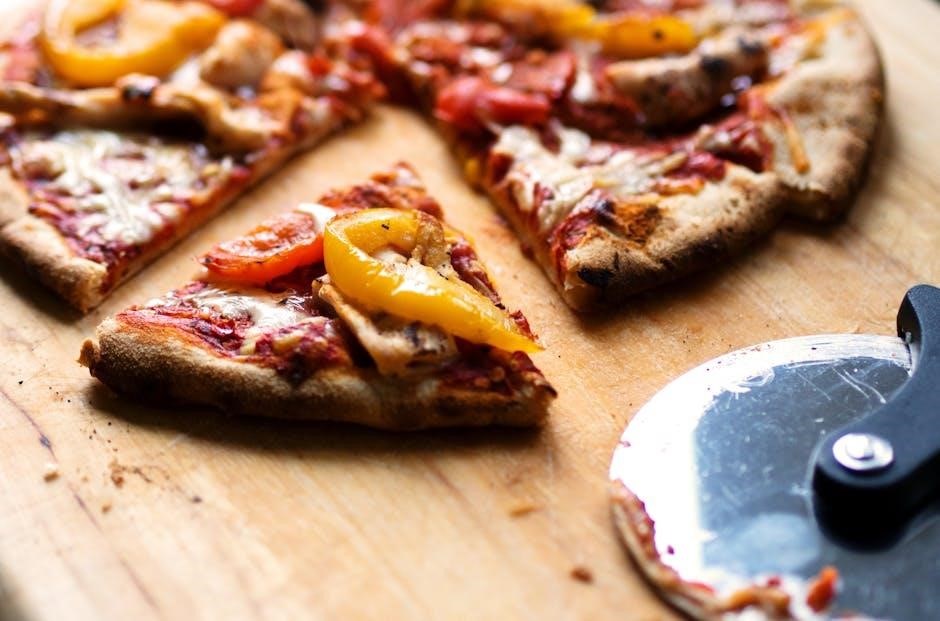
Presentation and Serving
A beautifully presented pizza enhances the dining experience. Garnish with fresh herbs like basil or oregano for a vibrant touch.
Serve sliced thinly, paired with a side salad or garlic knots, to create a satisfying and well-rounded meal.
How to Make Your Pizza Look Appetizing
Arrange toppings symmetrically and evenly to create a visually appealing pizza. A mix of vibrant colors from fresh vegetables and meats adds eye-catching contrast.
Garnish with fresh herbs like basil or parsley for a pop of green. Drizzle olive oil or balsamic glaze around the edges for a polished finish. Sprinkle cheese evenly to avoid bare spots, ensuring a balanced look that invites everyone to dig in.
Serving Suggestions and Pairings
Trader Joe’s pizza dough creations can be served with a fresh green salad or garlic knots for a complete meal. Pair with a side of marinara or ranch for dipping. For beverages, try a crisp sparkling water, iced tea, or a glass of red or white wine. Dessert ideas include chocolate-dipped berries or a fruit salad. Add a sprinkle of parmesan and fresh herbs like parsley or oregano for a finishing touch. These additions elevate the presentation and flavor, making your pizza a standout dish.
Trader Joe’s pizza dough offers convenience and versatility, making it perfect for quick, delicious meals. Its ease of use and tasty results make it a favorite for home cooks, encouraging creativity and experimentation in the kitchen.
Final Thoughts on Trader Joe’s Pizza Dough
Trader Joe’s pizza dough is a culinary gem, offering unparalleled convenience without compromising on flavor. Perfect for home cooks of all skill levels, it simplifies meal prep while allowing for endless creativity. Its consistent quality ensures delicious results every time, making it a versatile base for both simple and elaborate recipes. Whether you’re a pizza aficionado or a busy parent, this dough is a must-have for quick, satisfying meals that everyone will enjoy.
Encouragement to Experiment and Enjoy
Don’t be afraid to get creative with Trader Joe’s pizza dough! It’s the perfect canvas for your culinary imagination. Try unique topping combinations, explore different cooking methods, or even use the dough for non-pizza creations like breadsticks or pinwheels. The ease of use and versatility make it a joy to experiment with. Remember, cooking is about having fun and making memories, so embrace the process and savor the delicious results of your efforts!