
The Focal Chorus 705 bookshelf speakers deliver exceptional sound quality with a 1-inch inverted dome tweeter and 5-inch polyglass mid/woofer‚ offering a frequency response of 65Hz-28kHz ±3dB․
1․1 Overview of the Focal Chorus 705 Bookshelf Speakers
The Focal Chorus 705 bookshelf speakers are compact‚ high-performance audio systems designed for precise sound reproduction․ Priced at $550 per pair‚ they feature a 1-inch inverted dome tweeter and a 5-inch polyglass mid/woofer․ With a frequency response of 65Hz-28kHz ±3dB and a -6dB point of 57Hz‚ they deliver clear highs and rich bass․ Their ported enclosure ensures optimal acoustic efficiency‚ making them ideal for music enthusiasts seeking balanced sound in a sleek design․
1․2 Importance of Proper Stand Installation
Proper stand installation is crucial for the Focal Chorus 705 speakers to ensure optimal sound quality and stability․ Using compatible stands like the Focal Chorus S700 prevents wobbling and resonance‚ enhancing clarity and bass response․ Correct installation also maintains the speakers’ aesthetic appeal and prevents potential damage from improper mounting․ Sturdy stands ensure precise sound reproduction‚ making them essential for maximizing the speakers’ performance and longevity․

Focal Chorus 705 Speaker Stand Specifications
The Focal Chorus S700 stands are crafted from durable metal and aluminum‚ offering stability and compatibility with the Chorus 705 speakers‚ ensuring precise sound reproduction and sleek design․
2․1 Focal Chorus S700 Speaker Stands Compatibility
The Focal Chorus S700 speaker stands are specifically designed for the Chorus 705 and 706 bookshelf speakers‚ ensuring seamless compatibility and optimal performance․
Constructed from high-quality materials‚ these stands provide stability and durability‚ enhancing the overall audio experience while maintaining a sleek‚ modern design that complements the speakers’ aesthetic․
2․2 Technical Details of the Stand Design
The Focal Chorus S700 stands feature a sturdy‚ black satin finish and are engineered to provide optimal stability for the Chorus 705 speakers․ Built with high-quality materials‚ these stands ensure minimal resonance‚ enhancing sound clarity․ They are designed to complement the speakers’ aesthetic while delivering reliable performance․ The stands’ compatibility with the Chorus 705 and 706 models ensures a seamless integration for an exceptional audio experience․

Screw Size and Torque Specifications for the Chorus 705 Stand
The Focal Chorus 705 stand requires M6 screws for secure mounting․ Torque specifications are critical to ensure stability without damaging the equipment‚ as outlined in the manual․
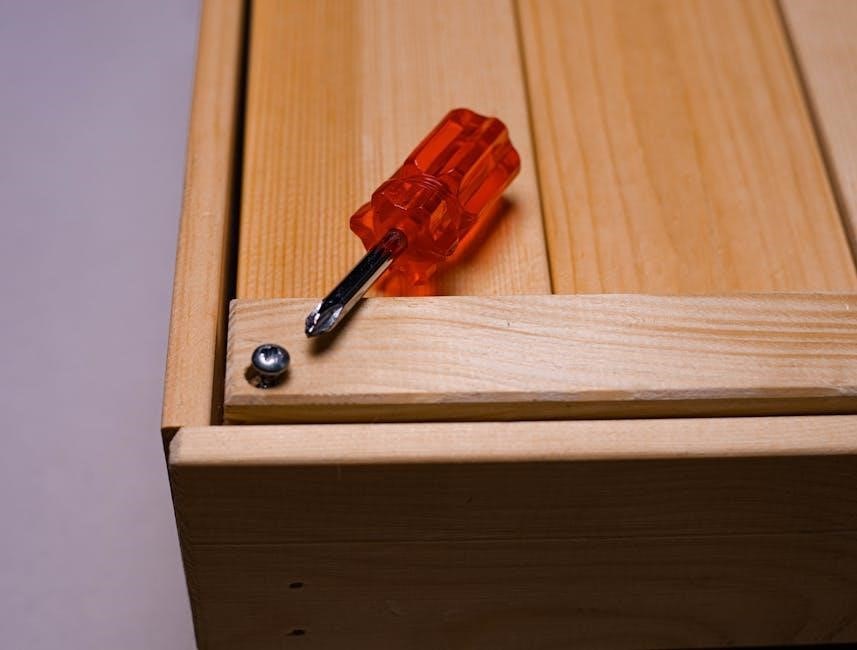
3․1 Recommended Screw Size for Manual Installation
The Focal Chorus 705 stand requires M6 screws for installation․ These screws ensure proper mounting and stability for the speakers․ The manual specifies M6x12mm screws‚ suitable for the pre-tapped holes in the stand․ Using the correct screw size prevents damage and ensures secure attachment․ Always refer to the manual for precise measurements and guidelines to avoid over-tightening or stripping the threads‚ which could compromise the system’s stability and performance․
3․2 Torque Recommendations for Secure Mounting
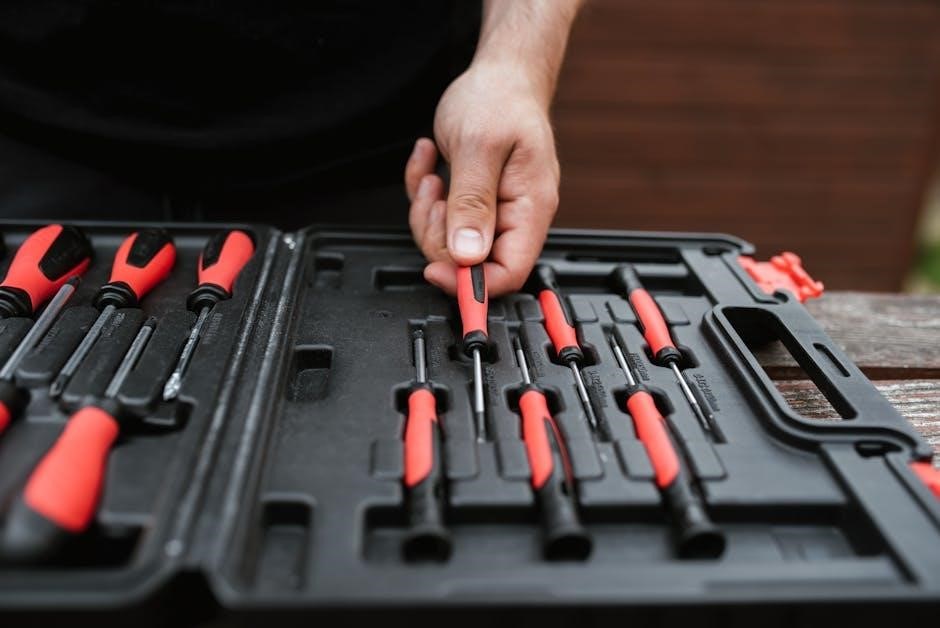
For the Focal Chorus 705 speakers‚ a torque of 10 to 15 Nm is recommended when using M6x12mm screws․ This ensures stability without risking damage․ Use a torque wrench for accuracy․ Tighten screws until snug‚ then apply an additional quarter turn for security․ Avoid over-tightening to prevent stripping threads․ The manufacturer’s guidelines should be followed precisely for optimal performance and safety․
Step-by-Step Installation Guide
Mount the Chorus 705 speakers securely by aligning the stands‚ inserting M6 screws‚ and tightening firmly․ Follow the manual for precise assembly to ensure stability and optimal sound quality․
4․1 Preparing the Stand and Speaker for Assembly
Begin by unboxing and inspecting all components․ Place the speaker face down on a soft cloth to protect the finish․ Locate the M6 screw holes on the speaker’s underside and ensure they align with the stand’s mounting plate․ Remove any protective coverings from the screws and stand surfaces to ensure a secure connection during assembly․
4․2 Aligning and Tightening the Screws
Align the M6 screws with the speaker’s mounting holes‚ ensuring proper fitment․ Tighten each screw incrementally in a star pattern to avoid uneven pressure․ Use an Allen wrench to secure the screws firmly‚ applying the recommended torque of 5-7 Nm․ Avoid overtightening to prevent damage to the speaker or stand․ Once secure‚ double-check the alignment and stability of the assembly before placing the speaker upright․
Troubleshooting Common Issues
Loose stands can cause instability‚ so ensure screws are tightened properly․ If screws strip‚ replace them promptly to maintain speaker stability and sound quality․
5․1 Addressing Loose or Uneven Stands
Loose or uneven stands can compromise speaker stability and sound quality․ First‚ check all screws for tightness using the recommended screw size from the Chorus 705 manual․ If a stand is uneven‚ adjust the base leveling feet to ensure balance․ Ensure the surface is flat and stable before re-tightening the screws to maintain optimal performance and prevent potential damage to the speakers or stands․
5․2 Solving Screw Stripping or Damage
First‚ address the issue by replacing stripped screws with the correct size specified in the manual․ For minor damage‚ apply a thread repair kit to reinforce the screw holes․ Always refer to the torque guidelines in the Chorus 705 manual to avoid over-tightening‚ which can cause further damage․ If the damage is extensive‚ contact Focal support for professional assistance or replacement parts to ensure optimal performance and stability․

Maintenance and Care Tips
Regularly clean the stands and screws with a soft cloth to prevent dust buildup․ Inspect screw connections for tightness without over-tightening․ Use a threadlocker for added stability․
6․1 Cleaning the Stand and Screws
Use a soft‚ dry cloth to wipe the stand and screws‚ avoiding harsh chemicals․ For stubborn grime‚ dampen the cloth slightly but ensure no moisture seeps into the stand․ Regular cleaning prevents dust buildup‚ which can affect stability․ Inspect screws for debris and clean threading with a small brush․ Avoid using abrasive materials that might scratch the finish or damage components․ Proper maintenance ensures optimal performance and longevity․
6․2 Regular Tightening of Screws for Stability
Periodically check and tighten the screws to ensure the stand remains stable and secure․ Use the recommended screw size and torque specifications to avoid over-tightening‚ which could damage the stand or speaker․ Regular tightening prevents loosening over time due to vibrations or movement․ This maintenance step is crucial for maintaining the structural integrity and optimal performance of your Focal Chorus 705 speakers․

Safety Precautions
Handle heavy speakers and stands with care to avoid injury․ Avoid over-tightening screws to prevent damage to the stand or speaker mounting holes․
7․1 Handling Heavy Speakers and Stands
Always lift speakers and stands with care‚ using two people if necessary․ Bend at the knees to avoid straining your back․ Ensure the surface is stable and even․ Avoid placing speakers on uneven or unstable stands‚ as this can lead to tipping․ Use a soft cloth to protect surfaces from scratches during handling․ Keep children and pets away while moving heavy equipment to prevent accidents․
7․2 Avoiding Over-Tightening Screws
Avoid over-tightening screws to prevent damage to the stand or speaker․ Use a torque wrench if possible‚ following the recommended specifications․ Turn screws in small increments‚ checking tension regularly․ If screws feel overly resistant‚ stop immediately․ Over-tightening can strip threads or warp the stand‚ compromising stability․ Always refer to the manual for precise torque values to ensure secure and safe assembly without causing damage․
Proper installation using the correct screw size and torque ensures optimal performance and longevity for your Focal Chorus 705 speakers‚ avoiding potential damage and instability issues․
8․1 Summary of Key Points
The Focal Chorus 705 speakers require M6 screws for secure stand mounting․ Proper torque of 1․2 Nm ensures stability without risking damage․ Always use compatible tools and follow the manual for precise installation․ Regular maintenance‚ such as tightening screws and cleaning‚ is essential for optimal performance and longevity․ Adhering to these guidelines ensures a stable setup and preserves sound quality over time․
8․2 Final Tips for Optimal Performance
For the best sound quality‚ ensure your Focal Chorus 705 speakers are placed on level stands․ Use isolation pads to reduce resonance and position the stands at least 8 inches from walls․ Regularly check screw tightness and avoid over-tightening to prevent damage․ Proper alignment and stable stands enhance sound clarity and bass response‚ ensuring an immersive listening experience․
Additional Resources
Visit the official Focal website for the Chorus 705 manual or contact their support team for assistance with stand installation and screw size queries․
9․1 Where to Find the Official Chorus 705 Manual
The official Focal Chorus 705 manual can be downloaded from Focal’s website․ Visit their support section and search for “Chorus 705” to access detailed installation guides‚ specifications‚ and troubleshooting tips․ Additionally‚ authorized retailers like Amazon and specialty audio stores often provide access to manuals or can direct you to Focal’s resources for stand screw size and assembly instructions;
9․2 Contacting Focal Support for Assistance
For assistance with the Chorus 705 manual or stand screw size‚ visit Focal’s official website and navigate to their support page․ Use the contact form‚ email‚ or phone number provided to reach their customer service team․ Focal’s experts can guide you through installation‚ troubleshooting‚ or any technical inquiries‚ ensuring optimal performance and proper assembly of your speakers and stands․